

Introduction
In Spring 2020, I enrolled in CSE 566 Virtual Reality course at Stony Brook University. As an assignment, I had to develop a space exploration VR game for Oculus Quest. Prior to this, I had no experience in game development. In this post, I will talk about my experience of developing a VR game in Unity, and my approach to complete the assignment within 10 hours.
Objective and Storyline
Our game is about space exploration. The game starts with our main character inside a spaceship. The character has to receive a floating cargo from space and navigate to a special planet. Once he has reached near the planet, he should be able to teleport himself to the surface of the planet. On the planet surface, there is a greenhouse. Here the user would be given two tasks which he has to perform. Once complete, the user should be able to teleport himself back to the spaceship.
Video Walkthrough
Codebase and Ethics
Since this project was a part of an assignment for the CSE 566 course at Stony Brook University, I would not be sharing my codebase here. I would however discuss implementations from a broader perspective and share a few basic code gist in order to understand discussed ideas better.
The Setup
Unity and Oculus Setup
For development I used Unity version “2018.4.16f1” on macOS. My hardware was Oculus Quest.

Start by creating a new project in Unity. Once the project is open, it is important to configure the build setting. We can do this by:
- Go to Files and select Build Settings.
- Under platform select Android.
- Set Texture Compression to ASTC.
Now, make sure that you have imported the Oculus integration package.
The next step is to add package identification, so Oculus can register your game and display it correctly when deployed. For this:
- Go to Edit > Project Settings > Player
- Fill Company Name, Product Name and Version.
- Under Identification, do the following:
- Add Package Name. It must be unique within the Oculus ecosystem. Follow the convention: com.CompanyName.gamename
- Add Version and Bundle Version Code.
- In Minimum API Level, set the minimum Android version to Android 6.0 Marshmallow (API level 23) for Oculus Quest
- In Target API Level, select Automatic (highest installed)
- In Install Location, select Automatic.

Finally, enable VR support by:
- Go to Edit > Project Settings.
- Select XR Plugin Management, and click Install XR Plugin Management.
- Click the Windows tab and select Oculus to install the Oculus XR plugin, which enables the VR support.
- Under XR Plugin Management, click Oculus to open and modify the default settings.
Game Development
The setup
We start by first adding a space skybox to our scene. Unity defines skybox as a 6-sided cube that is drawn behind all graphics in the game. Our camera sees the universe from inside this cube therefore giving us the illusion of continuous surrounding space. We can either create our own skybox or import one from Unity’s asset store. For my project, I imported the following asset:
https://assetstore.unity.com/packages/2d/textures-materials/milky-way-skybox-94001

If you deploy the game now, you’ll see vast endless space around. This is good, but not much in itself. Therefore, lets now add more 3D objects like:
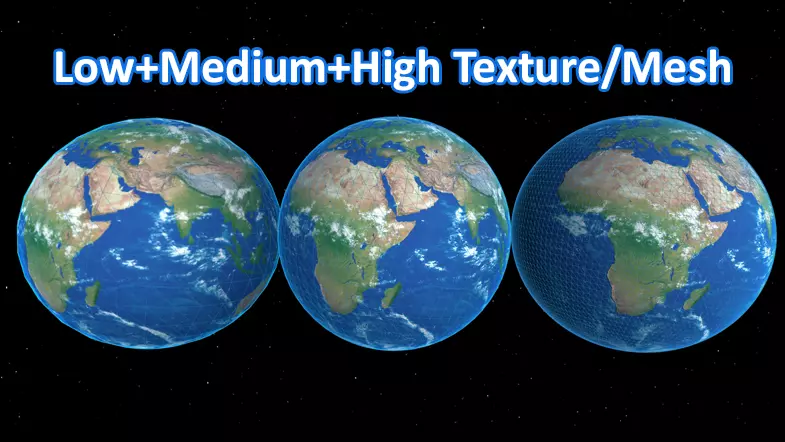
- Planet Earth: https://assetstore.unity.com/packages/3d/environments/sci-fi/planet-earth-free-23399
- Spaceships:
https://assetstore.unity.com/packages/2d/textures-materials/milky-way-skybox-94001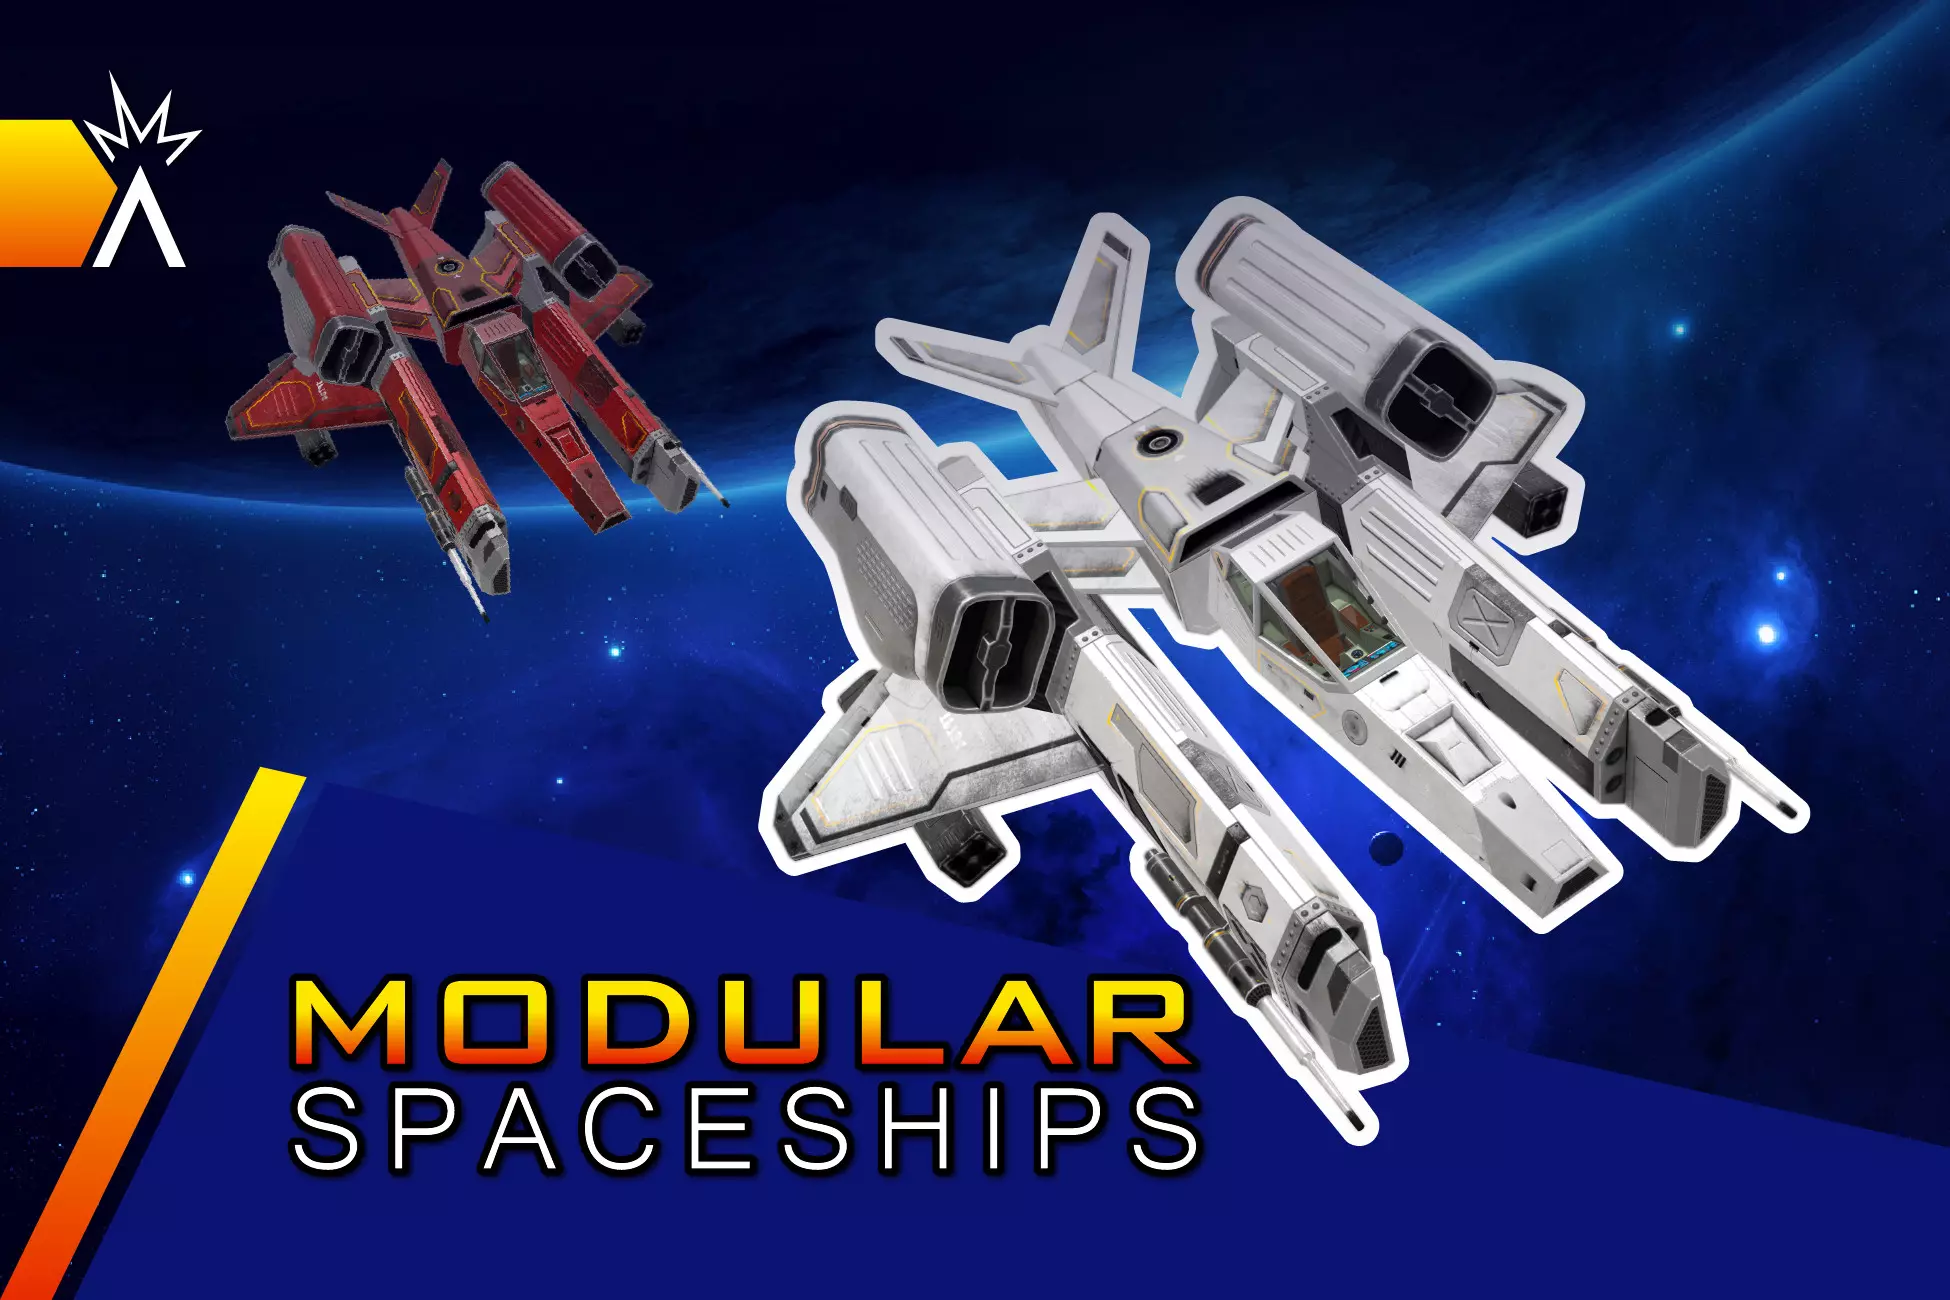
- Other celestial bodies
https://assetstore.unity.com/packages/3d/environments/sci-fi/vast-outer-space-38913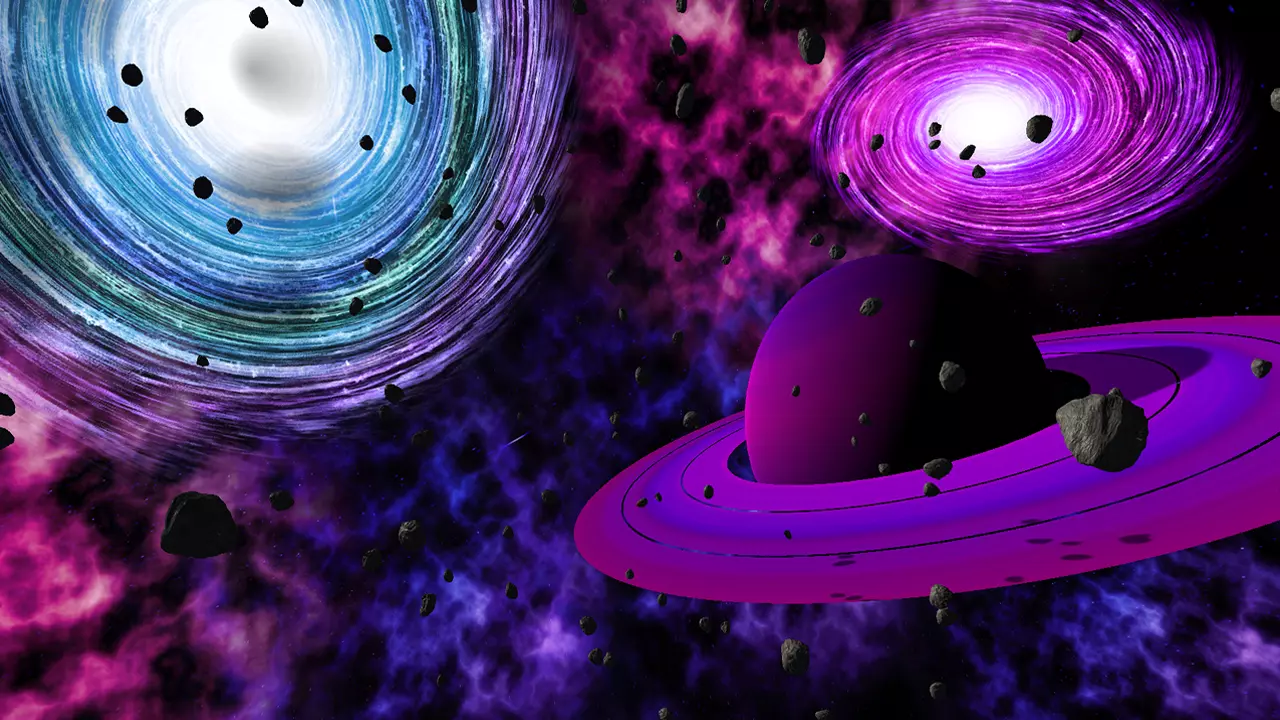
Once everything is added, place the camera inside the spaceship. At this time, your game should look something like this:
Understanding cameras
A camera, in Unity, is a device to capture and render the space to the player. Depending on the placement of the camera with respect to the player you can define the game’s perspective like – first person or third person. In VR, to make our game more realistic it is better to use a first perspective camera. Thankfully, Oculus’s Unity integration provides such a camera out of the box. You can easily import a VR ready camera from:
Assets/OVR/Prefabs > OVRCameraRig
Using OVRCameraRig would attach the camera to the virtual avatar of the user and would move/rotate as per the user body/head movement in the real world.
Adding physics
We will now introduce physics to our game in order to make it more realistic. Effects like gravity, collision, crash, movement, etc can be achieved using physics.
Unity Physics is a deterministic rigid body dynamics system and spatial query system written from the ground up using the Unity data-oriented tech stack.
– Unity Docs
There are two vital concepts that we need to understand in order to introduce physics in our game – rigidbodies and colliders.
Rigidbodies enable your GameObjects to act under the control of physics. The Rigidbody can receive forces and torque to make your objects move in a realistic way. Any GameObject must contain a Rigidbody to be influenced by gravity, act under added forces via scripting, or interact with other objects through the NVIDIA PhysX physics engine.
Collider components define the shape of a GameObject for the purposes of physical collisions. A collider, which is invisible, does not need to be the exact same shape as the GameObject’s mesh. A rough approximation of the mesh is often more efficient and indistinguishable in gameplay. The simplest (and least processor-intensive) colliders are primitive collider types. In 3D, these are the Box Collider, Sphere Collider and Capsule Collider. In 2D, you can use the Box Collider 2D and Circle Collider 2D. You can add any number of these to a single GameObject to create compound colliders.
Now that we understand Rigidbody and Collider, let’s add these properties to our planets. Our objective is to enable revolution of planets around the sun. We will first enable Rigidbody property on the planets and then add Sphere Colliders. This ensures that if any planetary body goes off orbit and collides with others, we should be able to observe the correct collision effects.
Adding orbits
We can use Transform.RotateAround to give a simple orbiter path to our planets. For example, the following line of code when added to a planet would make it orbit the sun.
transform.RotateAround (sun.transform.position, Vector3.right, speed * Time.deltaTime);Switching cameras
We can add multiple cameras to the scene and allow users to switch between them on a button click. This allows users to get a better perspective of the environment. For example, we already have one camera inside the spaceship, let’s add another on top of it. Enable camera toggle via:
   void cameraPositionChange(int camPosition)
   {
       if (camPosition == 1)
       {
           camPosition = 0;
       }

       //Set camera position database
       PlayerPrefs.SetInt("CameraPosition", camPosition);

       //Set camera position 1
       if (camPosition == 0)
       {
           cameraOne.SetActive(true);
           cameraOneAudioLis.enabled = true;

           cameraTwoAudioLis.enabled = false;
           cameraTwo.SetActive(false);
       }

       //Set camera position 2
       if (camPosition == 1)
       {
           cameraTwo.SetActive(true);
           cameraTwoAudioLis.enabled = true;

           cameraOneAudioLis.enabled = false;
           cameraOne.SetActive(false);
       }

   }
Adding gravity inside the spaceship
Remember, our avatar is in the spaceship cockpit. We know that in space there is no gravity, unless artificially created. It would be great if we can allow the user to toggle gravity on and off. In order to see the effects of the gravity, it’s important that we put a few small floating objects in the cockpit. When the gravity is on these objects would fall to the spaceship floor, and when off they would float within.
We start by making our spaceship a rigidbody. This ensures that when the gravity is turned on our floating objects fall and stay on the floor. If we do not make the spaceship a rigidbody, these objects would just pass through the spaceship as if it was unreal. When adding rigidbody to the spaceship, ensure that the ‘Use Gravity’ option is unchecked.

Now let’s add simple colliders to our floating objects and make them all rigidbodies. Here too we ensure that ‘Use Gravity’ is unchecked by default. The final step is to now toggle ‘Use Gravity’ on button click. We can do that by:
   public Rigidbody rb;

   void Update()
   {
       if (OVRInput.GetDown(OVRInput.Button.Two)) {
               rb.useGravity = !rb.useGravity;
       }
   }
Creating a mini-map
A mini-map is a miniature map that is often placed at a screen corner in video games to aid players in orienting themselves within the game world. In our game, we will project a minimap on the cockpit dashboard. This will help users to understand their spaceship’s relative position, thereby enabling them to maneuver the spaceship efficiently to the destination planet.
To create the minimap, we first add a new camera to our scene. Make sure the camera is looking downwards to the spaceship and move it further away on the y-axis so we have a better field of view for the camera. For this camera, set the ‘Projection’ value to ‘Orthographic’. This setting would remove the depth perspective thereby giving a flatter view to the camera. We can also play with ‘Size’ value to get a better field of view.
Once the camera is set up correctly, we now want to project its image on our minimap. For this we will create a ‘RawImage’ UI component. Add this using:
In create, right click > UI > RawImage
Place this RawImage over the cockpit dashboard, where you want your mini-map to be displayed. Now we want to project our camera view to this raw image. This can be done via a render texture.
Inside project, right click > Create > Render Texture
This will create a render texture inside the project. We will set the size of the render texture the same as that of the RawImage. We will then set this Render Texture as the target texture for RawImage. The RawImage will now automatically render the overview camera’s feed, thus creating our active minimap.
Maneuvering spaceship
Our spaceship is a rigidbody that can be maneuvered easily using Unity’s transform the position API.
Teleportation
We can create multiple scenes in the project and allow trigger scene change using a button. This will create an illusion of teleportation.
Conclusion
The complete game development took around 10 hours which included getting started with Unity. The out-of-box physics and interaction APIs provided by the Unity engine is both intuitive as well as easy to use.
